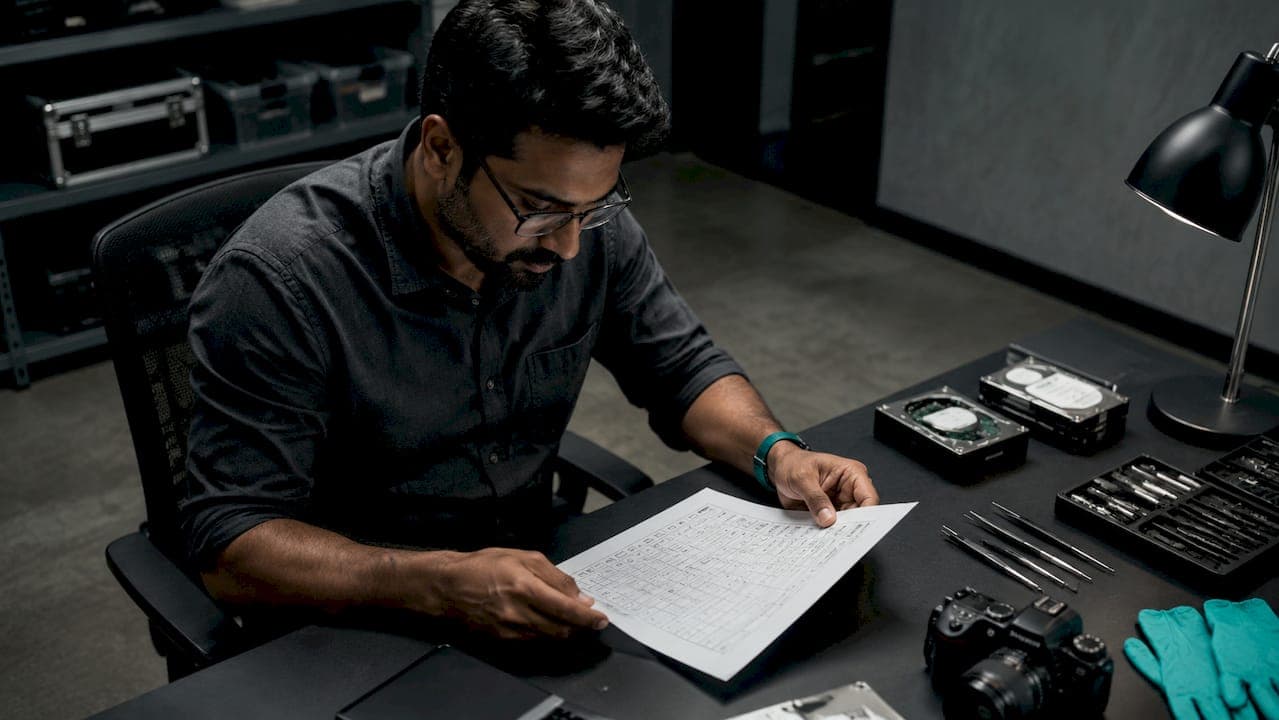
TL;DR:
- A digital forensic evidence presentation checklist ensures evidence is properly seized, documented, analyzed, and communicated for court admissibility. It emphasizes verified imaging, precise documentation, and clear storytelling to withstand legal scrutiny. Consistent application of standards and thorough rehearsal of testimony are crucial for maintaining the integrity of digital evidence.
A digital forensic evidence presentation checklist is a systematic series of steps designed to authenticate, preserve, document, and clearly communicate digital evidence for legal proceedings and investigations. In the field of Digital Forensics and Incident Response (DFIR), this checklist is the standard industry framework that determines whether evidence survives cross-examination or collapses under it. Organisations such as NIST and SWGDE set the benchmarks, and tools like write-blockers, SHA-256 cryptographic hashing, and forensic imaging software like FTK and EnCase form the technical backbone. Every item on this checklist serves one of three purposes: legal authenticity, technical validation, or clear communication to a non-expert audience.
1. the digital forensic evidence presentation checklist: start here

Before any analysis begins, you need a clear framework. The checklist below covers every stage from first contact with a device through to courtroom testimony. Each item is non-negotiable if you intend to produce court-admissible evidence.
The checklist is structured in the order evidence moves through an investigation: seizure, imaging, analysis, reporting, and presentation. Skipping or reordering steps is the single most common reason digital evidence is challenged or excluded.
2. seize and isolate the device correctly
The Golden Moment is the narrow window between first contact with a device and its physical isolation. A 5-minute gap in documentation during this period is a primary target for defence challenges. Every second counts, and every action must be recorded.
Your seizure checklist must include:
- Device state: Record whether the device is on or off before touching it. A powered-on device may have volatile memory containing active processes, encryption keys, or live network connections.
- GPS location and environment: Note the precise location, ambient conditions, and any connected peripherals.
- Time and operator identity: Use 24-hour format for all timestamps. Record the full name and role of every person present.
- Isolation method: Place the device in a Faraday bag immediately to block wireless signals and prevent remote wiping.
- Photographic log: Photo logs must include date and time, camera ID, operator name, location, purpose, and a visible scale bar to comply with SWGDE standards.
Pro Tip: Use a dedicated evidence log sheet with pre-printed 24-hour timestamp fields. Handwritten notes on scraps of paper have been successfully challenged in court as unreliable.
3. create a verified forensic image
Forensic imaging is the process of creating a bit-for-bit copy of the original storage media. You never analyse the original. The image is your working copy, and its integrity must be provable from the moment it is created.
The core steps are:
- Attach a hardware write-blocker between the source media and your imaging workstation. Write-blockers prevent any writes to the source media, ensuring not a single bit of original evidence is altered.
- Use a recognised imaging format. Standard formats such as .E01 or .raw maintain the metadata chain and internal timestamps. Submitting evidence as folders of individual files breaks that chain and weakens reliability.
- Apply the triple-hash protocol. Hash at three stages: H1 by the seizing officer at the scene, H2 upon receipt at the laboratory, and H3 after analysis is complete. Any mismatch between hashes indicates tampering or mishandling.
- Record the hash values (SHA-256 is the current standard), the software name, version number, and build number used for imaging.
- Document every handoff in the chain of custody log, including storage location, timestamp, and the signature of each person who received or transferred the evidence.
| Stage | Hash Label | Who Records It |
|---|---|---|
| Seizure (on-scene) | H1 | Seizing officer |
| Laboratory intake | H2 | Lab technician |
| Post-analysis | H3 | Forensic examiner |
Pro Tip: Validate your forensic imaging software against known data sets before any live case. Courts have excluded evidence where the examiner could not demonstrate the tool produced accurate results on test data.
4. document every action with precision
Forensic evidence documentation is not a formality. Exact software versions and build numbers must appear in every report. Generic tool names without version or build numbers lead directly to questions about scientific validity in court. A log that reads "analysed using FTK" is insufficient. "Analysed using AccessData FTK 7.6.0.2 build 2023.09.14" is defensible.
Your documentation record for each piece of evidence must include:
- Unique evidence identifier
- Full name and role of every handler
- Date and time of each action (24-hour format)
- Tool name, version, and build number for every process performed
- Storage location at each stage
- Transfer details and recipient signatures
Gaps in custody logs are the most frequently exploited weakness in digital evidence cases. Defence counsel will scrutinise every handoff. A single undocumented transfer can render an entire evidence set inadmissible.
5. apply recognised documentation standards
Different jurisdictions and organisations publish their own forensic evidence checklist standards. Knowing which framework applies to your case is part of the preparation.
| Organisation | Standard or Framework | Key Requirement |
|---|---|---|
| SWGDE | Best Practices for Digital Evidence | Photographic logs, hash verification, write-blocker use |
| NIST | SP 800-86 | Systematic acquisition, examination, and reporting |
| UK Courts | Section 63 BSA Certificates | Certification of forensic processes for admissibility |
| US Federal Courts | Federal Rule of Evidence 702 / Daubert Standard | Expert testimony must be based on sufficient facts and reliable methods |
The Daubert standard, applied in US federal courts, requires that expert testimony rests on sufficient facts, reliable methods, and correct application of those methods to the case. UK courts apply similar scrutiny under the Criminal Procedure Rules. Knowing the applicable standard before you begin documentation means your records are built to survive the specific legal test they will face.
6. analyse evidence systematically before reporting
Analysis is where the technical work happens, but the output must be structured for a legal audience. Digital forensic investigation methods range from file system analysis and keyword searches to memory forensics and network traffic review. Each method must be documented with the same rigour as the imaging stage.
Your analysis checklist should confirm:
- The working copy (not the original) was used throughout
- All tools are validated and version-documented
- Findings are reproducible: a second examiner using the same method should reach the same result
- Artefacts are catalogued with their source location, file path, and associated timestamps
- Any anomalies or gaps in the data are noted and explained, not ignored
Reproducibility is the test courts apply to forensic analysis. If your method cannot be replicated, your findings will be challenged.
7. present findings with a clear narrative
Digital forensic experts should begin testimony with a clear narrative explaining the what, how, and why. Starting with raw technical data overwhelms judges and jurors. Starting with a story keeps them engaged and makes the technical detail meaningful.
Your presentation structure should follow this order:
- The issue: What question does this evidence answer?
- The process: What steps were taken to find the answer?
- The conclusion: What does the evidence show?
"The goal is not to demonstrate technical expertise. The goal is to make the evidence undeniable to someone who has never opened a forensic tool."
Translate every technical term before using it. A "registry hive" becomes "a system file that records user activity." A "MAC timestamp" becomes "the date and time a file was last modified, accessed, or created." Use visual aids: timelines showing the sequence of events, side-by-side comparisons of file versions, and callouts highlighting key metadata. Rehearse your testimony with legal counsel before the hearing. Anticipate cross-examination on your methods, your tools, and your conclusions.
8. prepare your expert witness documentation
Expert witness testimony in digital forensics requires a formal report that meets court standards. The report is not a technical log. It is a structured document written for a legal audience, supported by technical appendices.
Your report must include a clear statement of your qualifications, the scope of the examination, the methods and tools used (with full version details), the findings, and your conclusions. Appendices should contain the raw hash values, chain of custody logs, photographic records, and tool validation records. The role of DFIR during active incidents informs how reports are structured when evidence spans an ongoing breach rather than a historical one. In those cases, the report must also address the timeline of the incident and the state of the environment at the time of examination.
Key takeaways
A court-admissible digital forensic evidence presentation requires rigorous documentation, verified imaging, and a clear narrative structure from seizure through to testimony.
| Point | Details |
|---|---|
| Seize and isolate immediately | Use Faraday bags and 24-hour timestamped logs from the first moment of contact. |
| Apply the triple-hash protocol | Record SHA-256 hashes at seizure, lab intake, and post-analysis to prove integrity. |
| Document tool versions precisely | Include software name, version, and build number for every forensic process performed. |
| Structure testimony as a narrative | Begin with the issue, process, and conclusion before introducing technical detail. |
| Know your applicable standard | Apply SWGDE, NIST, Daubert, or UK Criminal Procedure Rules as required by jurisdiction. |
What 15 years in DFIR has taught me about evidence presentation
The checklist items that get overlooked most often are not the complex ones. They are the mundane ones. Software build numbers. Photographic scale bars. The exact time a device was placed in a Faraday bag. These details feel trivial during a high-pressure seizure. In a courtroom, they are the difference between evidence that stands and evidence that falls.
The Golden Moment is real. I have seen cases where a 4-minute undocumented gap between first contact and device isolation gave defence counsel enough to argue contamination. The technical evidence was sound. The documentation was not. The case suffered for it.
The other lesson I would press on any legal professional or investigator reading this: rehearse your testimony. Not once. Multiple times, with your legal team asking the hardest questions they can think of. Cross-examination on forensic methods is designed to expose uncertainty. If you cannot explain why you chose .E01 over .raw, or what your write-blocker model was, or how you validated your imaging tool, you will appear uncertain. Appearing uncertain is enough.
Clear communication is not a soft skill in this field. It is a technical requirement. A jury that does not understand your evidence cannot convict on it.
— Makkari
How Makkarisecurity supports court-admissible forensic evidence
Makkarisecurity delivers court-admissible DFIR services built around the exact standards this checklist describes. From live memory capture and verified forensic imaging to structured expert witness reports, every engagement follows rigorous chain-of-custody and documentation protocols.
Makkarisecurity's proprietary forensic engine produces cross-verified results with full tool versioning and hash validation at every stage. The full range of forensic capabilities covers incident response, breach counsel, and panel support for legal teams across the UK, Gibraltar, and Europe. If you are preparing digital evidence for court or need expert witness support, Makkarisecurity has the documented process and the track record to back it.
FAQ
What is a digital forensic evidence presentation checklist?
A digital forensic evidence presentation checklist is a structured set of steps covering seizure, imaging, documentation, analysis, and testimony to ensure digital evidence is admissible and credible in court.
Why does the triple-hash protocol matter in court?
The triple-hash protocol records SHA-256 hash values at seizure, laboratory intake, and post-analysis. Any mismatch between the three values indicates the evidence was altered or mishandled, which courts treat as grounds to challenge admissibility.
What happens if chain of custody documentation has gaps?
Gaps in custody logs are routinely exploited by defence counsel to argue evidence was tampered with or contaminated. Even a single undocumented handoff can render an entire evidence set inadmissible.
How should a forensic expert present technical evidence to a jury?
Start with a plain-language narrative covering the issue, the process, and the conclusion before introducing technical detail. Translate every technical term into plain English and use visual aids such as timelines and annotated screenshots.
Which documentation standard applies to UK digital forensic cases?
UK courts require compliance with the Criminal Procedure Rules and, for specific forensic processes, Section 63 BSA certificates. SWGDE and NIST frameworks provide internationally recognised best-practice benchmarks that UK practitioners also reference.